As we all prepare to gingerly emerge from lockdown, and following the overwhelmingly lovely response to my last blog post, I thought I would share the results of Kitchen Renovation stage 1 with you. I’m calling it stage 1 as just conveniently out of shot there is still a delightful 90’s UPVC leaky conservatory attached to this space which has just got to go!
By the time we got to the Kitchen, there was a hole in any planned budget which had been swallowed up by the glamour of damp, mouldy walls. So this had to be a Kitchen renovation without the enormous price tag usually attached to the ideas I had in mind.
First stop then had to be Ikea. Although I was determined that I wanted more of a ‘handmade’ look to the units with the chunky legs and framed surrounds I’d been scouring pinterest for! As said framed wooden kitchens were coming in at an eye watering cost, we needed to think outside the box. Now obviously there is a disclaimer here in that the husband was a carpenter in a former life so was able to do the work, and I do have an odd love of fitting kitchens – but it’s still going to be a whole lot cheaper, even if you have to pay a carpenter for his time.
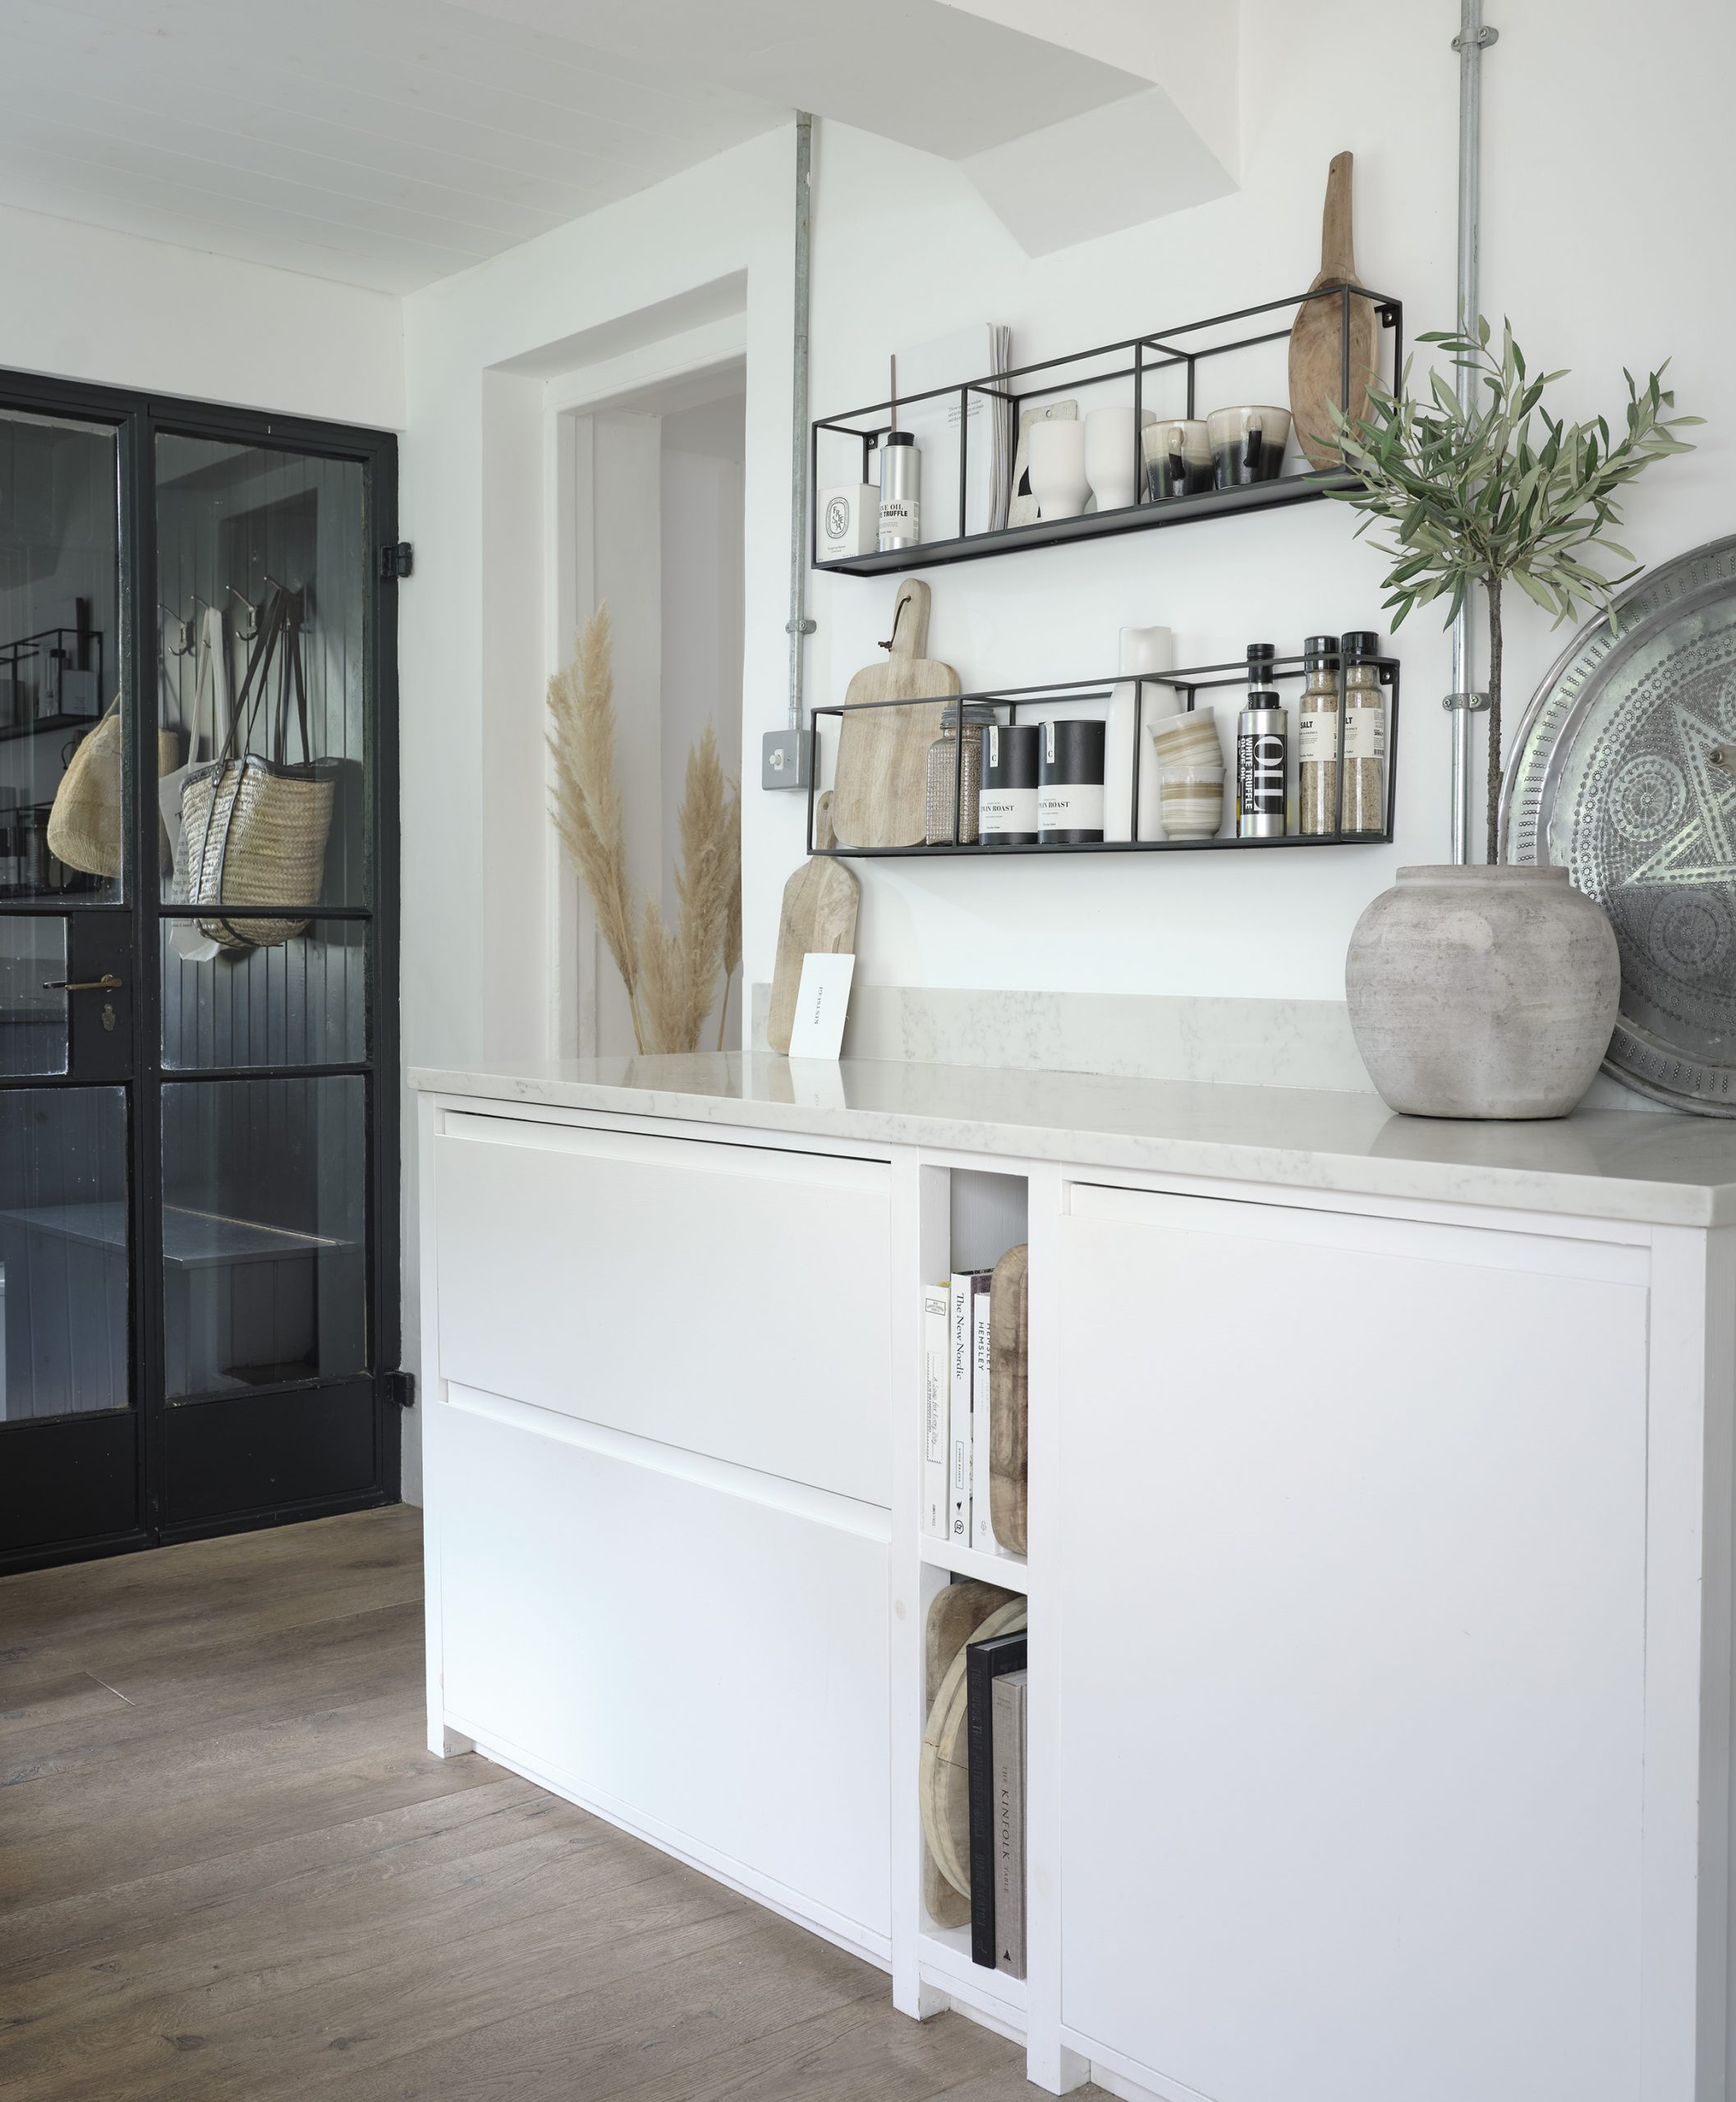
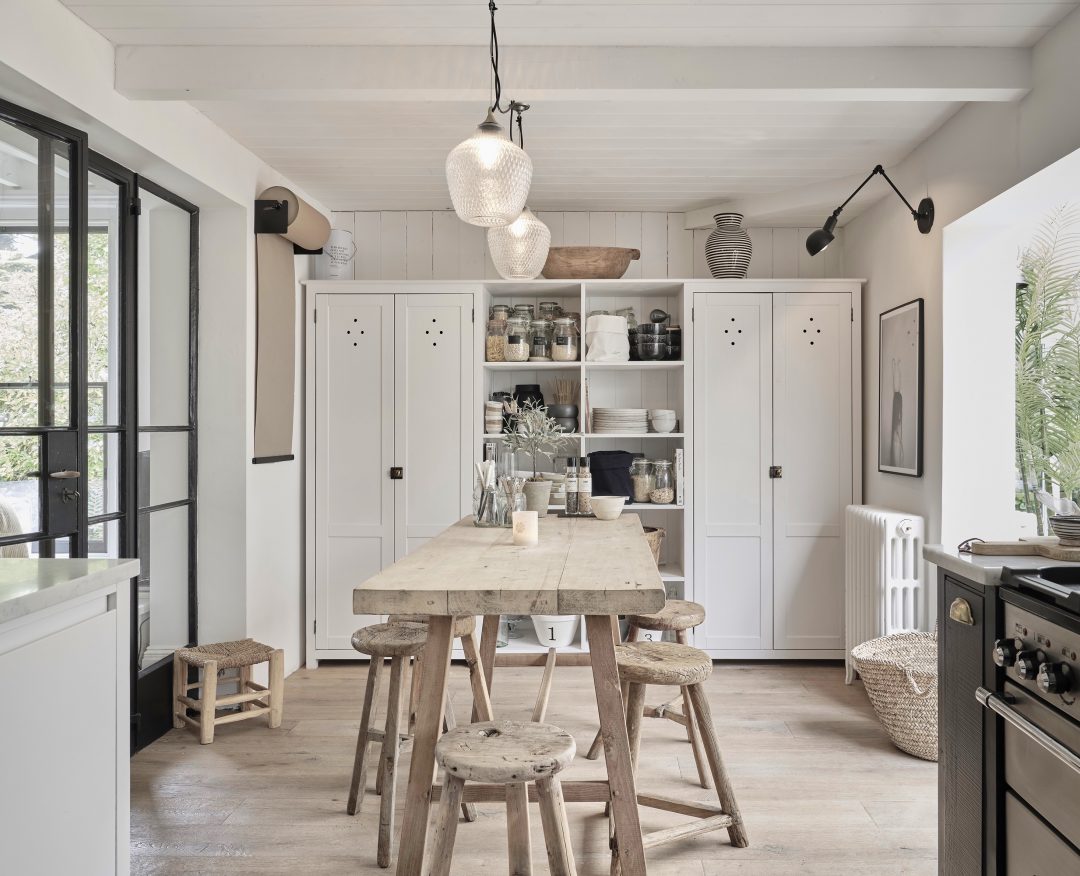
We started with this side, which is purely refridgeration. I’ve always loved the drawer fridge idea and wouldn’t go back to a traditional fridge now. Obviously there are some very high end versions out there but there is also a great version here which will set you back around £800 and provides two extra wide fridge drawers – I’m loving mine! As our family size ranges from 3 – 5++ depending on which of the older kids are returning, it was also necessary for an over-spill/drinks fridge so I put a standard undercounter model next to it. I bought these drawer/door fronts very cheaply online as they were simply made from primed mdf, and then painted them F&B All White. They are cut to order so you can specify the exact size needed. Once the fridges were in place we then just built around them with softwood, to create the shelving and framing.
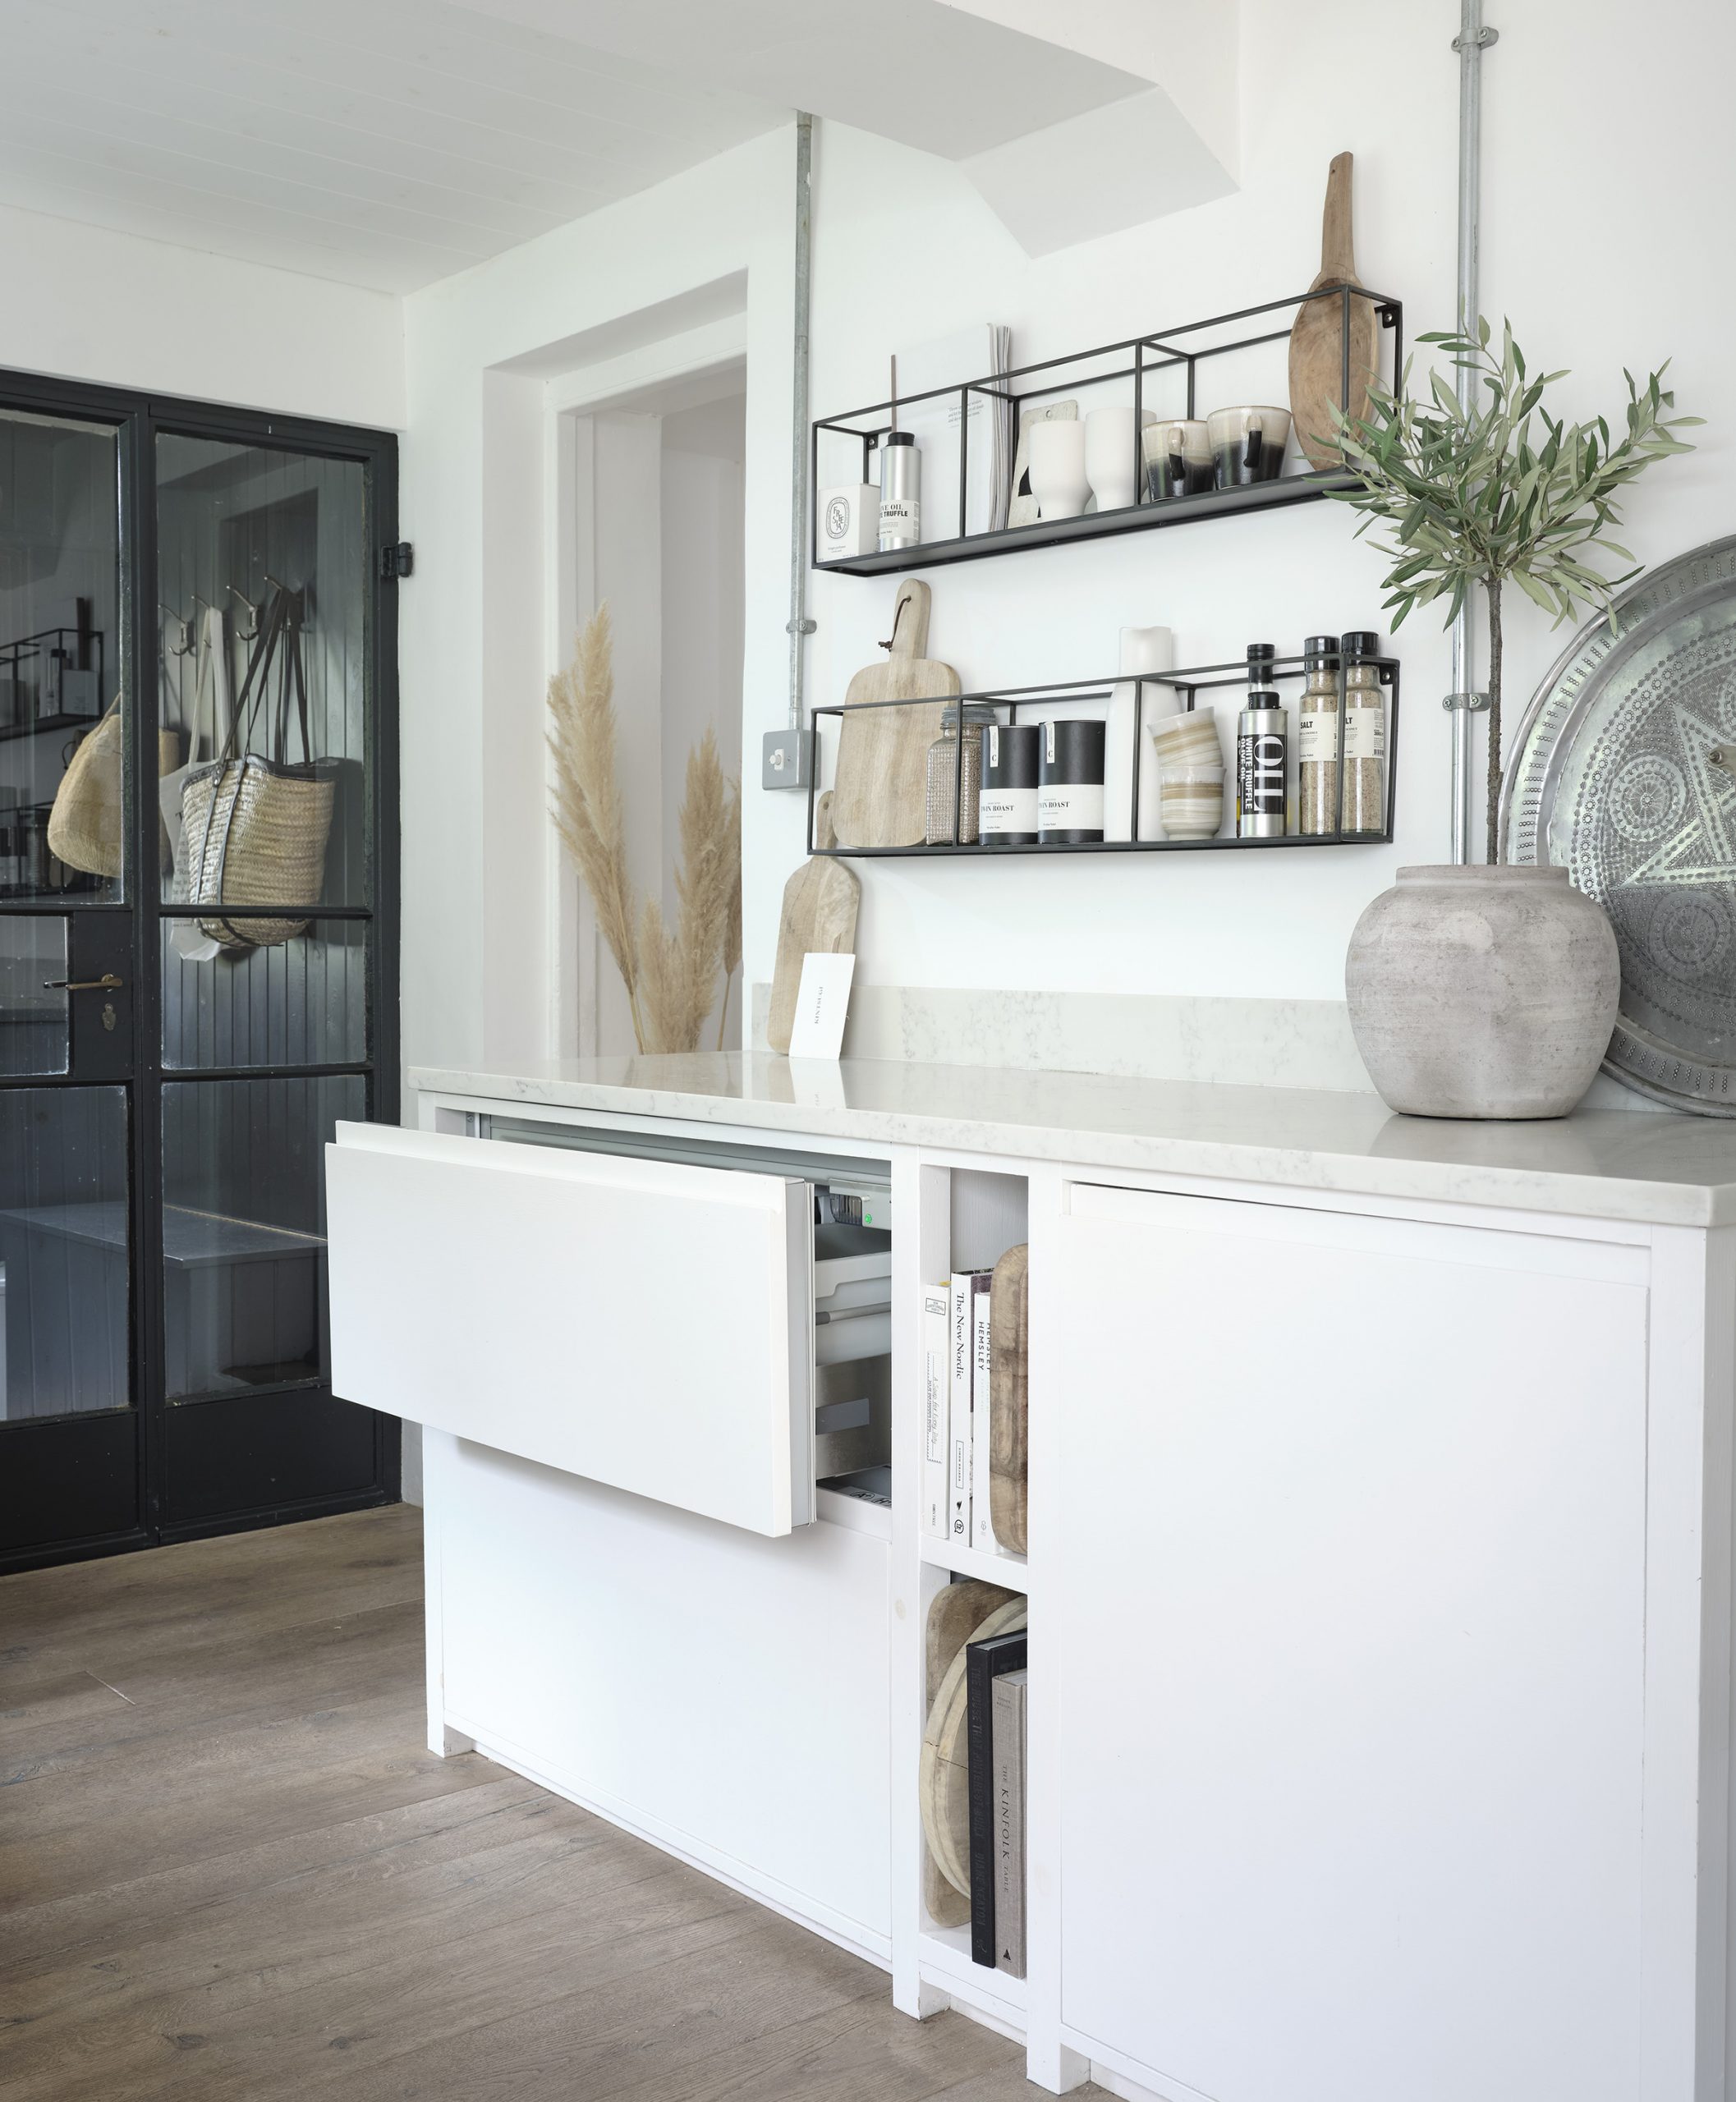
The old crittall doors here lead through to the utility room and as with the lounge renovation, I found them on ebay for under £200 then painstakingly stripped the years of peach gloss paint off before re-glazing and painting black. The doors were the starting point in both cases, and the the holes were cut to fit them. The utility room here used to be a downstairs toilet which was literally in the Kitchen, but I find that odd and just a whole world of wrong!
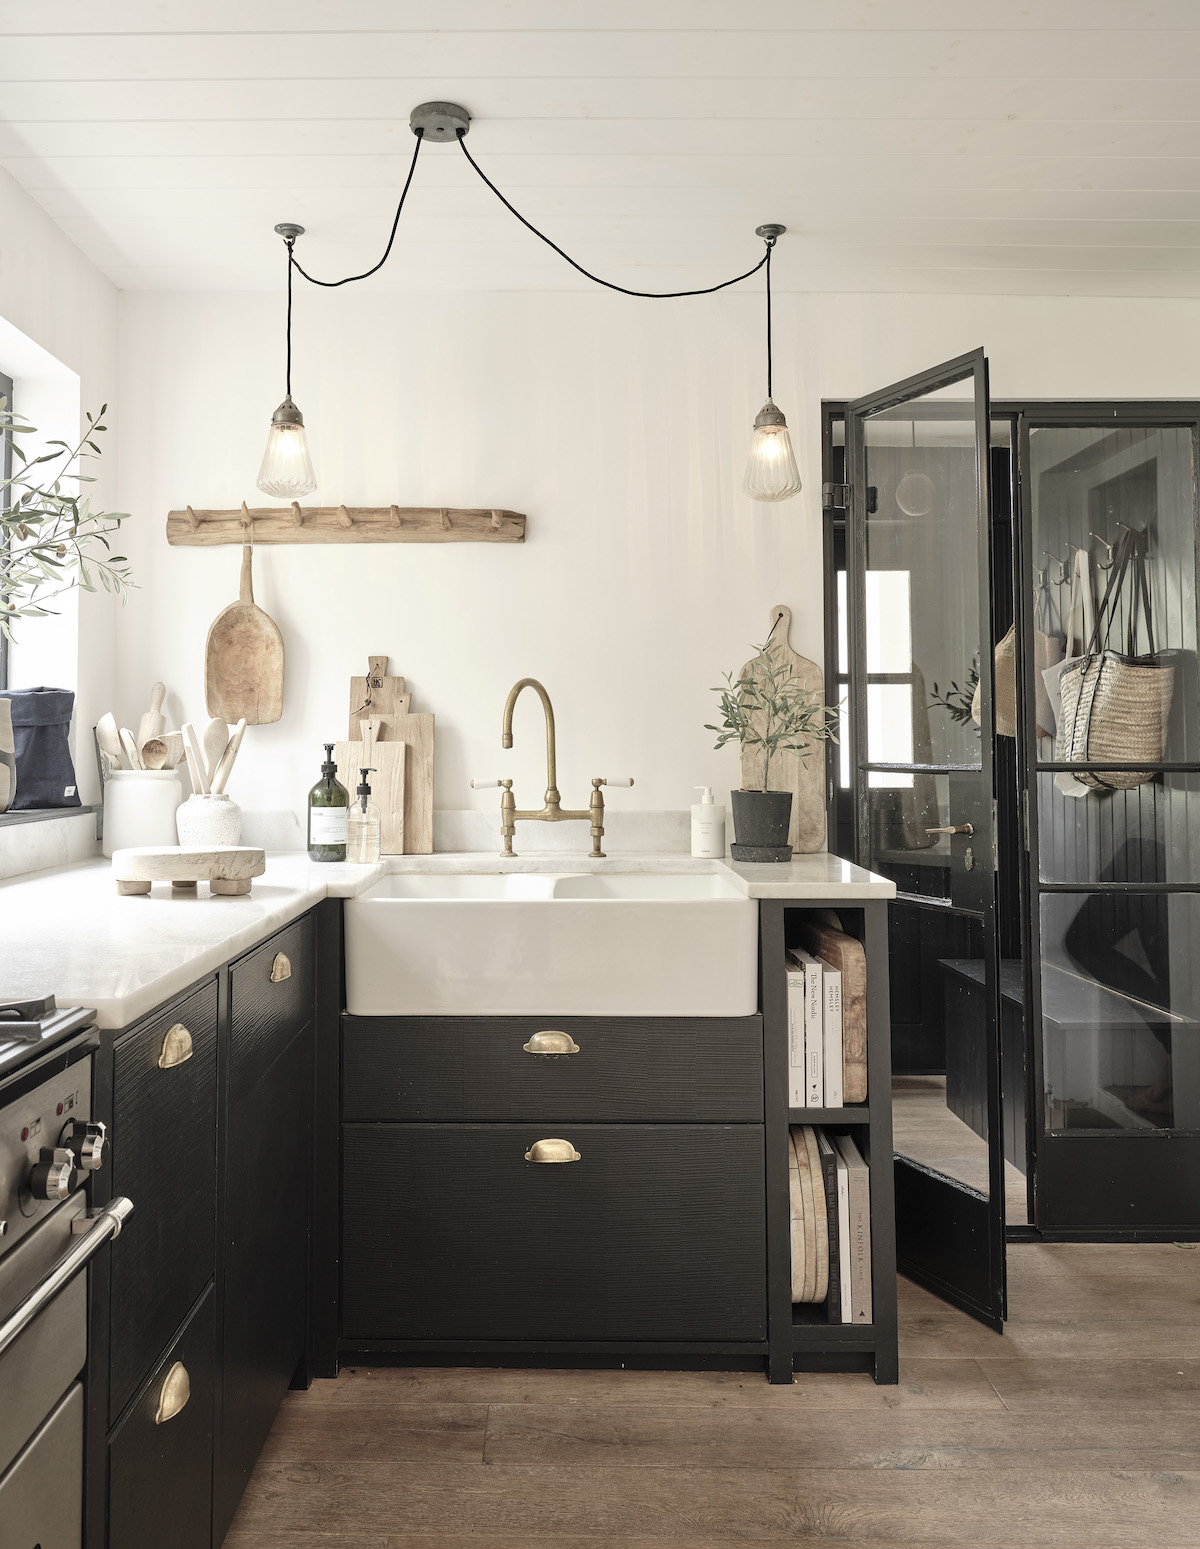
On the opposite side these are good old Ikea units and drawer fronts, which I then painted F&B Off Black. Ditto the dishwasher door and then again we built softwood frames around the front of them to create this look. If I were doing this again I would definitely go for wooden doors from one of the many online companies who make ready to paint versions to fit Ikea, as actually the paint hasn’t stuck very well here and regular touch ups are necessary. I will swap them out at some point (on the sly to prevent eyebrow raising obviously!)
The biggest investment really were the worktops which are marble. Luckily the overall run isn’t that long and I really think that spending on the worktops is the way to make sure the Kitchen does look good in the end. Lots of people ask me how the white marble is fairing and I really find it to be fine. The trick is flash-with-bleach and stone sealant a couple of times a year! This rather lovely tap from Aston Matthews was surprisingly shiny and bright when it first arrived but has thankfully developed the tarnished brass finish I was looking for, very quickly.
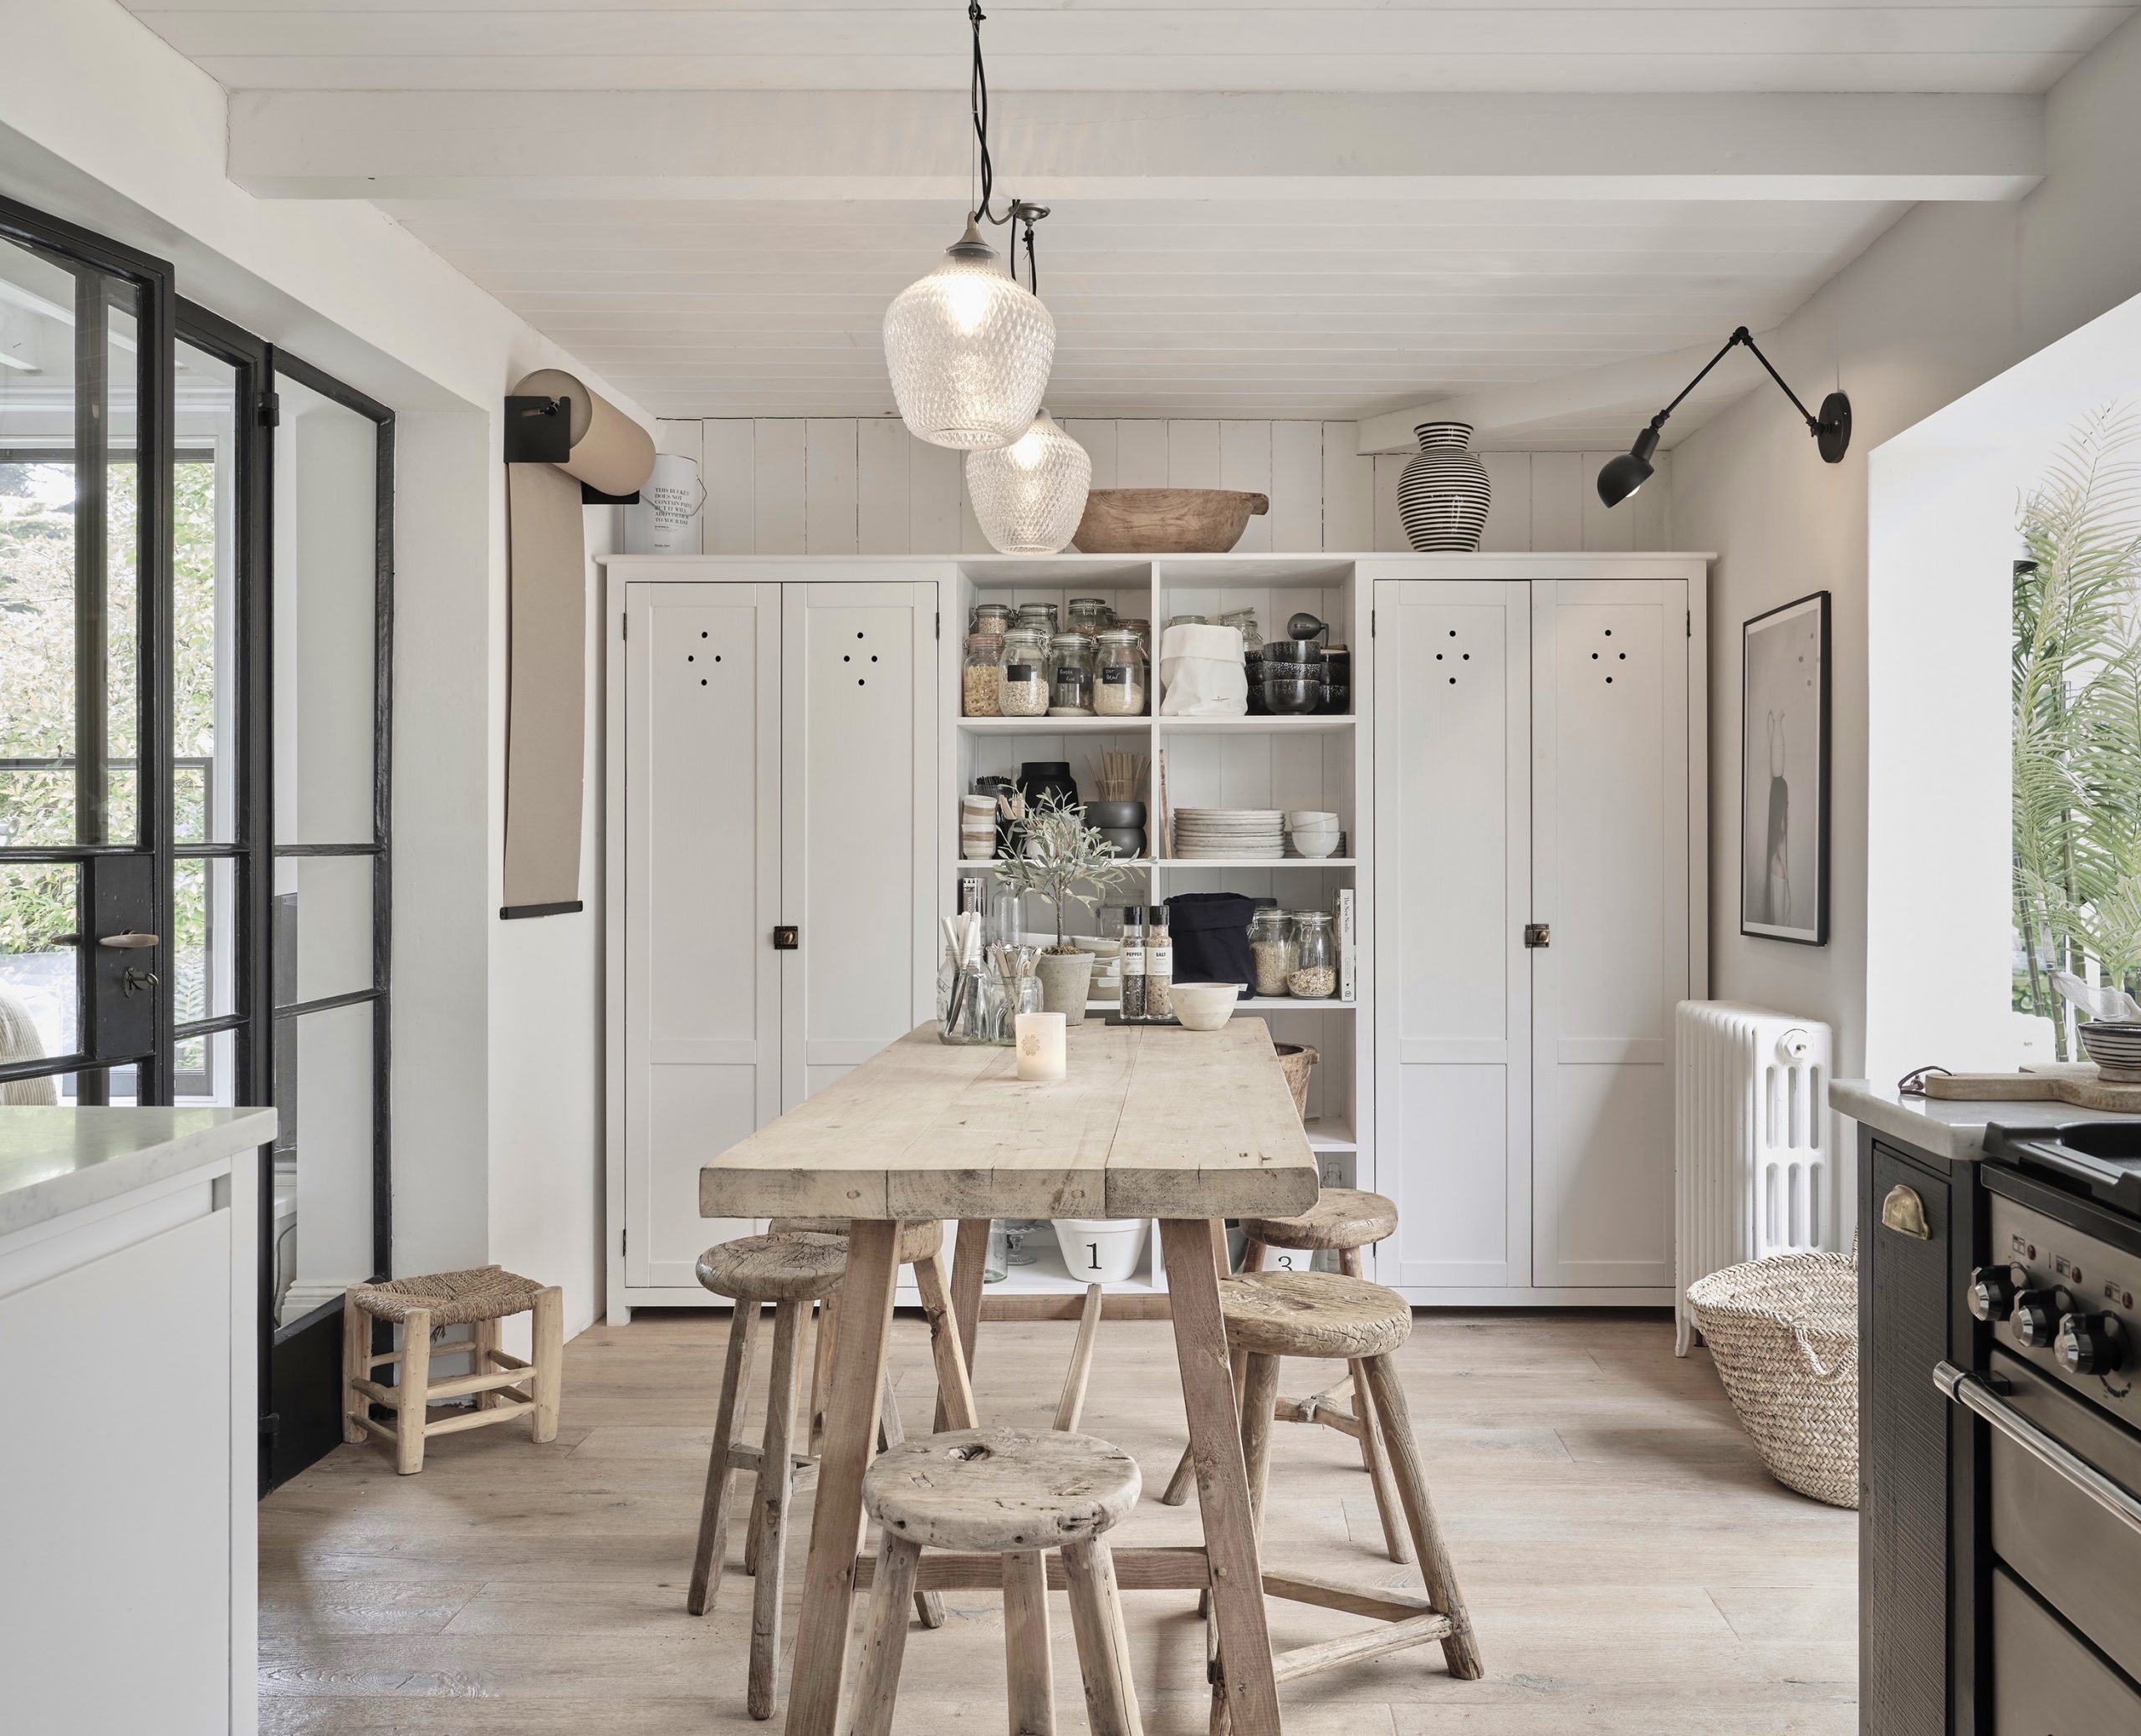
Moving on to my favourite part – the larder cupboards. These were made completely from scratch by building a softwood frame and then cladding the sides and back with tongue and groove to create the shelving and cupboard insides. I found the doors online and they are just pine doors which you can order in any size to suit. I sent them a sketch of the holes design and they laser cut that as well. I think the total cost of the doors was around £200. Everything has been painted in F&B All White eggshell.
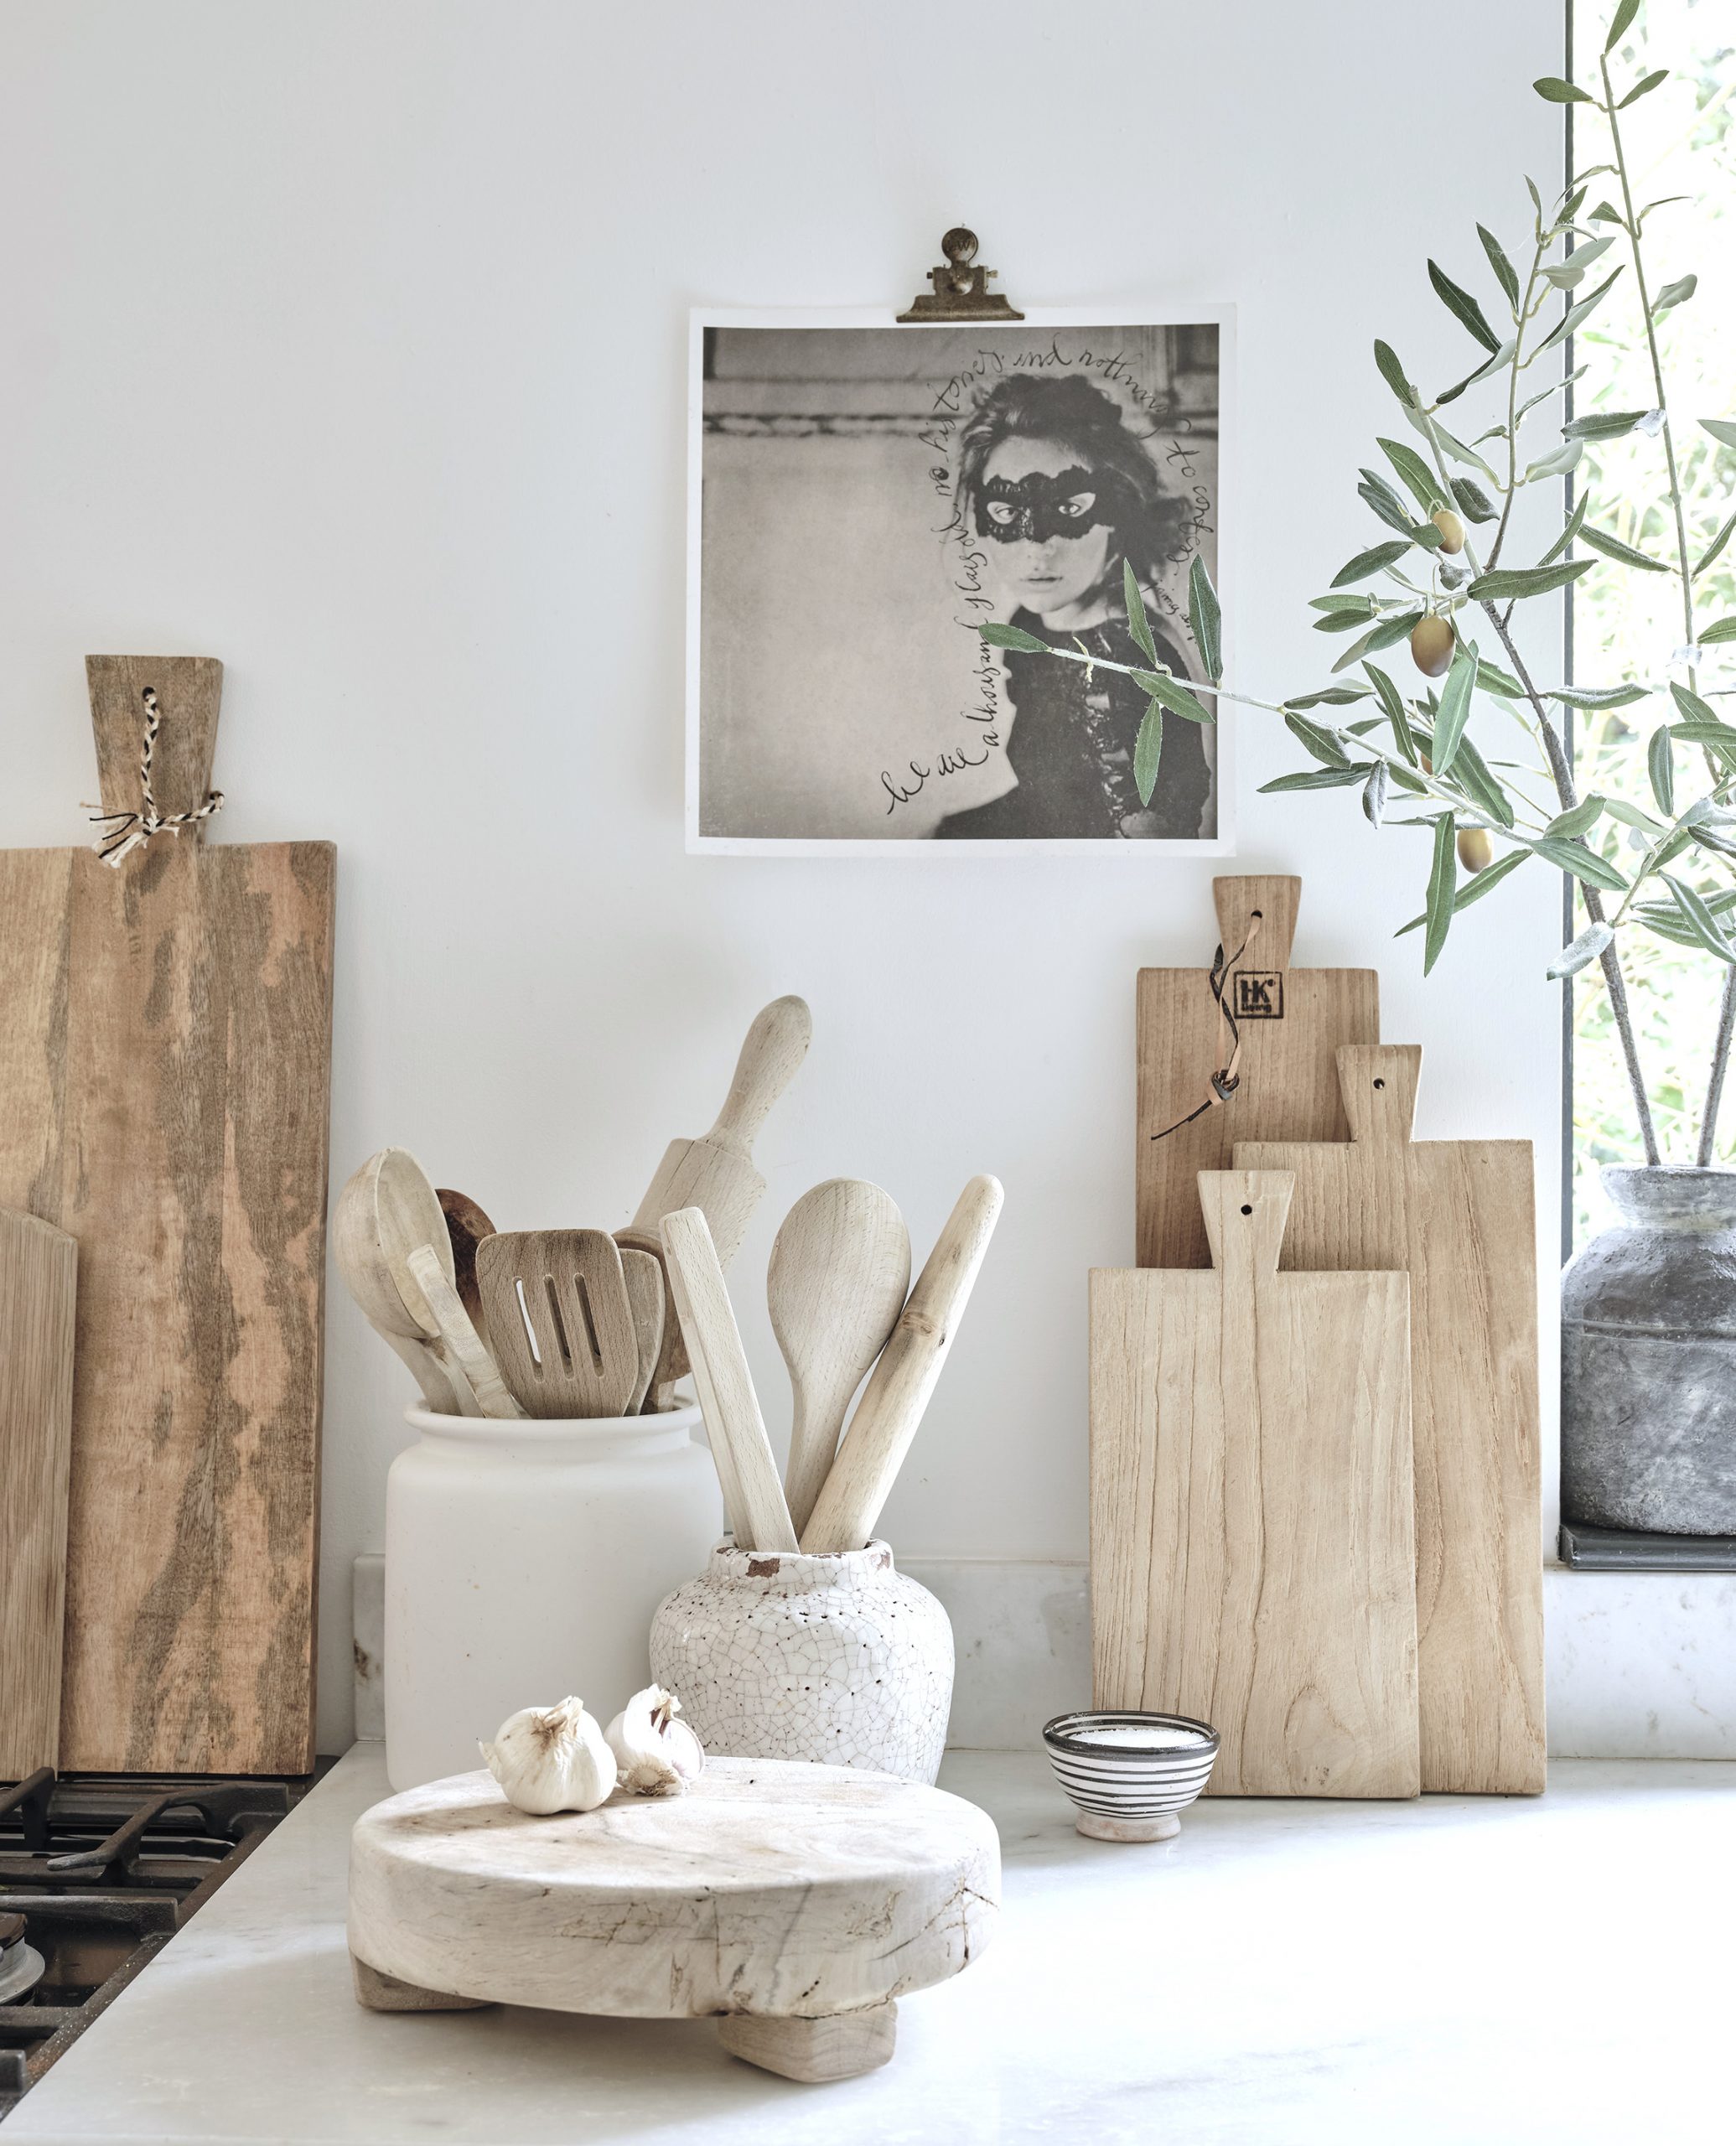
I’m a big lover of having lots of open display in a Kitchen so this was perfect for me and the cupboards provide plenty of space for all the larder essentials as well as the ‘ugly’ microwave, pots and pans. I also have a bit of an addiction to wood boards!
The floor is an engineered oak with a hand scraped finish which makes it fairly rustic. We ripped down the old ceiling here for boring plumbing essentials upstairs, so took the opportunity to replace it using tongue and groove boards. The lighting and accessories are all from Design Vintage, as was the kitchen table and stools. The table is an old vintage work bench so we had to heavily sand the top to remove some of the saw marks etc, but plenty of character does still remain.
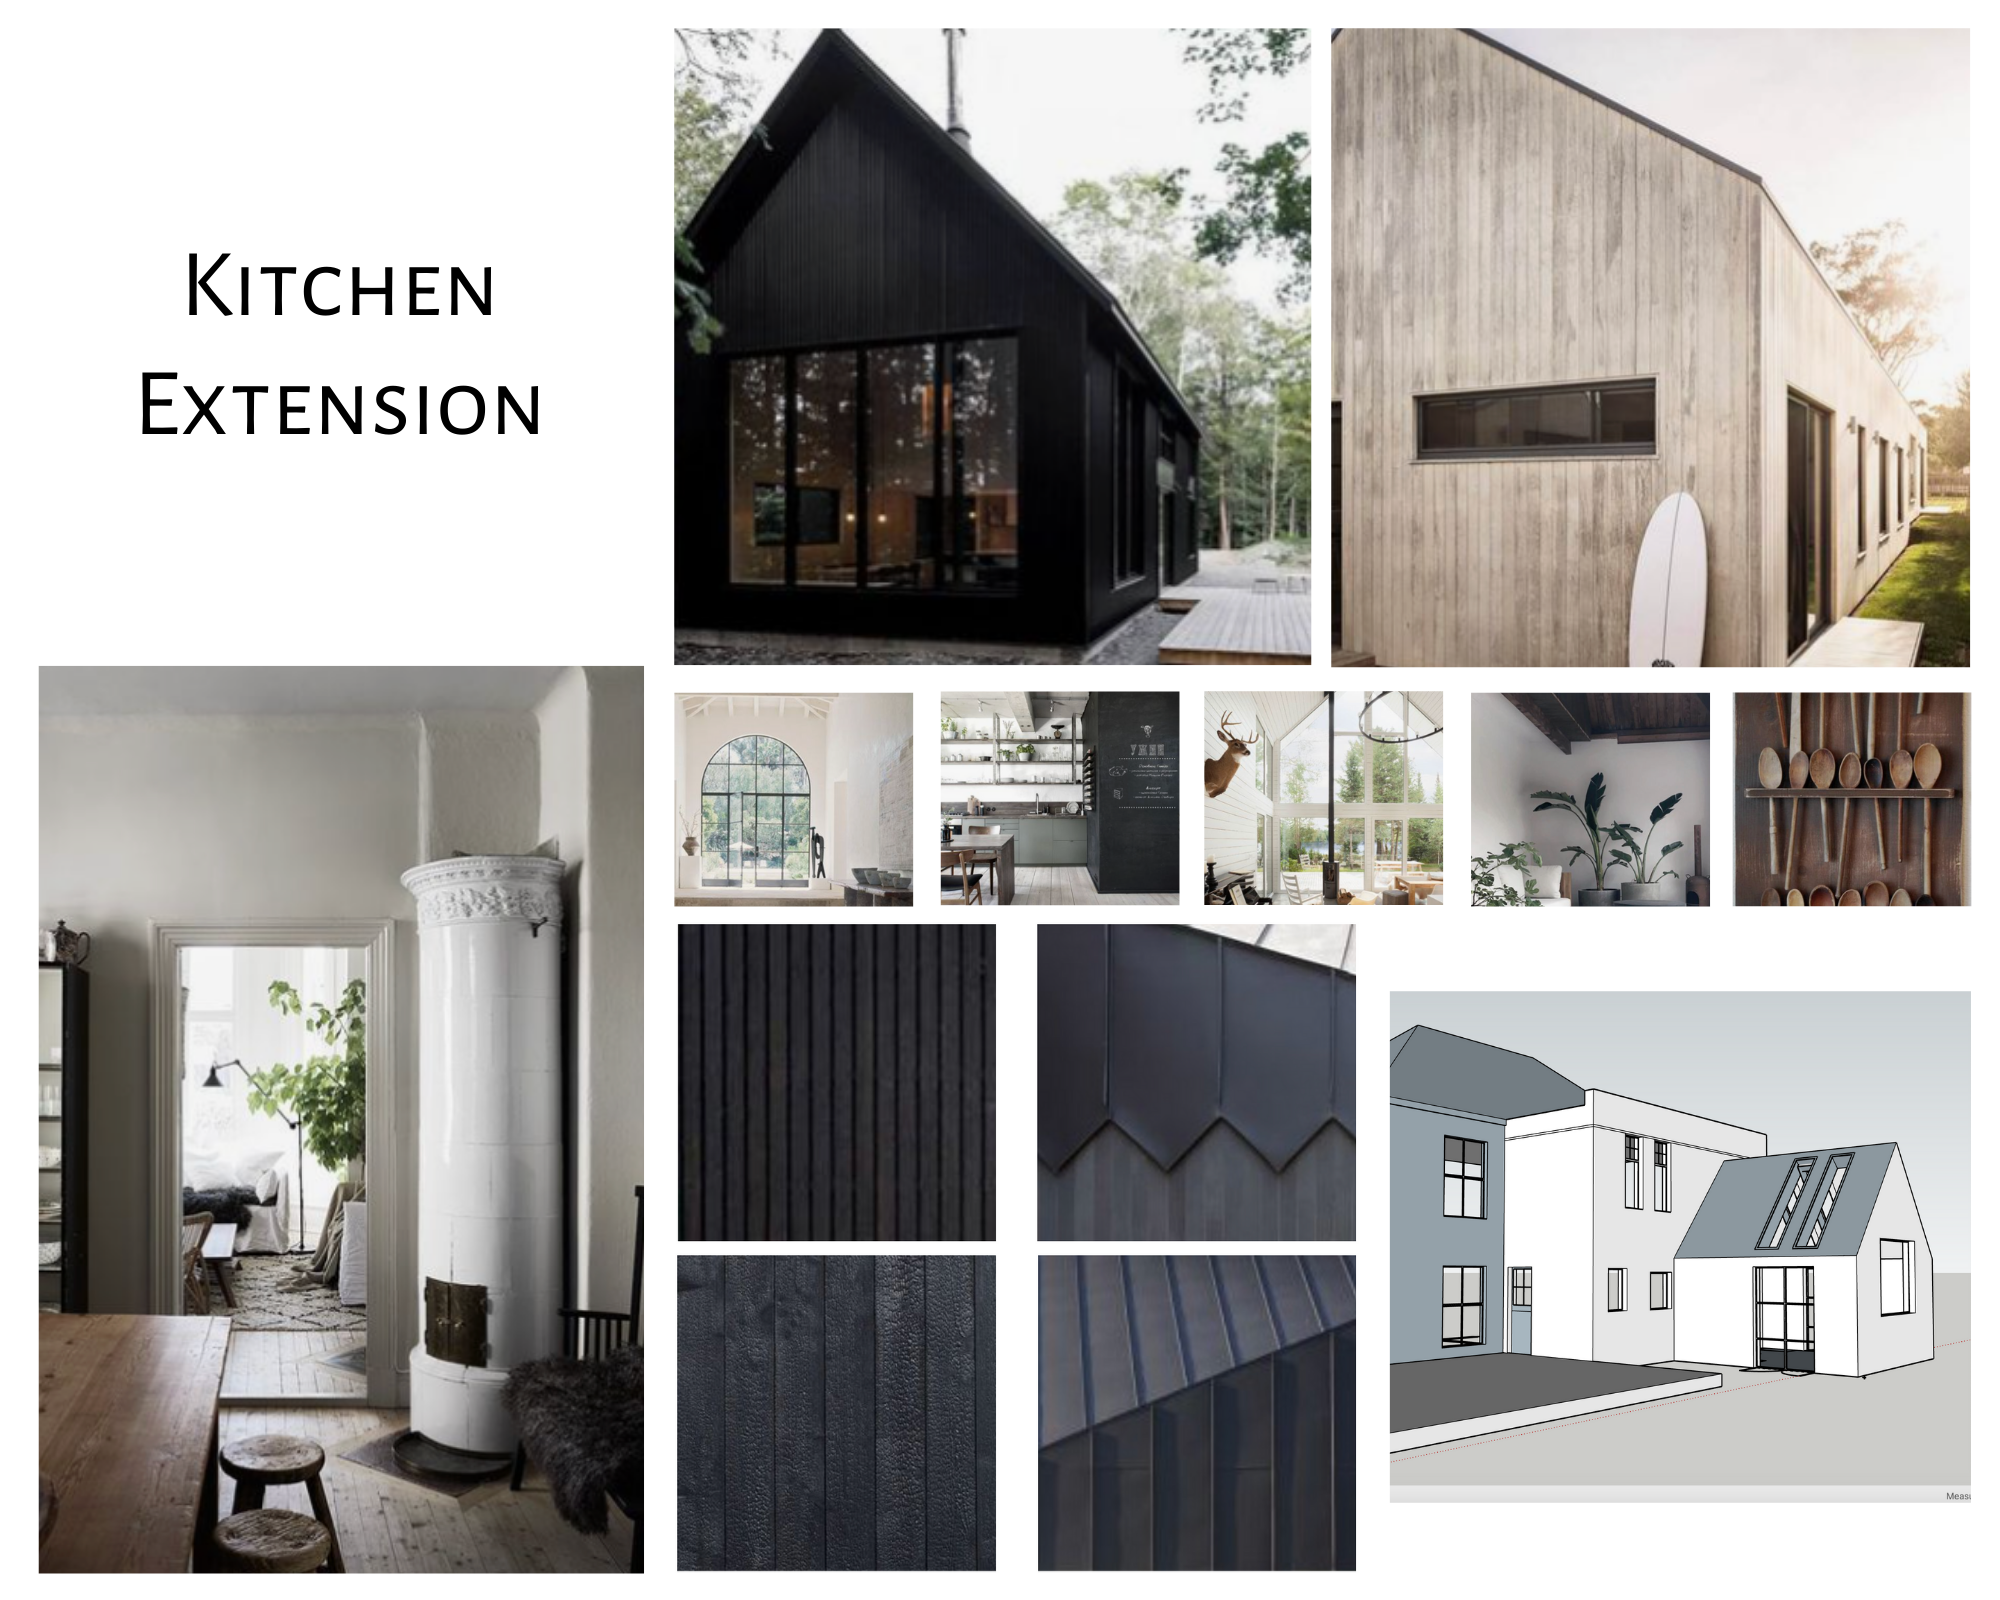
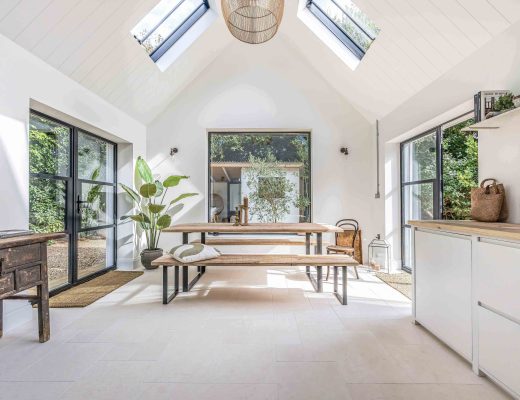
At some point in the future I will get to stage 2 of this kitchen I hope, but for now I have spruced the old conservatory with a lot of plants and vintage furniture and it’s actually ok. The dream is to replace it with a double height black timber extension to add more kitchen, dining and a swedish stove (always wanted one!) but that will be some way down the line. In the meantime I have these plans to lust after and can enjoy having a dust-free house for a while!
I really hope this all helps anyone embarking on a new kitchen, and as always I’m very happy to answer questions if I can be of any use! x
Images throughout – Alex Wilson Photography
Kitchen Extension Images – Pinterest



5 Comments
Please can you send me the web link to the pine doors you ordered and had the holes laser cut into for your larder?
Many thanks
Hi there – Yes of course, they were from http://yorkshirepinefactory.co.uk/ although ordered about 4 years ago! Good luck.
Hello! The kitchen looks stukning, lot’s of inspiration 😃 I’m trying to find the lamps over your zink on the webshop but I can’t see them. Could you tell me the name or send me the link please? Thanks, Aline
Hello, I was wondering what colour paint your Kitchen walls/ ceiling are? and what undertone you would recommend with the darker cabinets? Thank you
Hi wonderful helpful blog. Just found you through the Sunday papers.
I contact you in the hope that you may help with information regarding the kitchen re-fit. A cheekyy question but did your budget for the works come under 3k or 4k. and where did you source you work tops. I am on a very low budget and refurbishing a grade 2 listed house. thank you in advance,